Experimental Drawing – Study of Clouds

Continuing from my previous post about our first session of experimental drawing I’m going to write about what we did on our second session a week later…which to be honest I found much more interesting and enjoyable. There were two things that made me really like this project. Firstly just like in our first session we were asked to work with black and white media only and to be as experimental as we want which is what I like doing the most! And secondly, we had to do a study of clouds, and clouds are amazing and I love them. I love everything to do with sky and clouds so I guess it was just impossible for me to dislike this project! But anyway, in my case I decided to limit myself and use only black and white chalk and white acrylic paint as I could still remember the overworked drawing I created on the first session (click on the link in the first sentence if you would like to read more about it!)

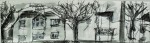
Before creating our own pieces using any media we want, we were all asked to do two A2 drawing of clouds using two different techniques chosen by our tutor. At the start of the session we were all given an A4 black and white photocopy of a photograph of clouds and for the first drawing we were asked to choose a small rectangular section of it (about 2cm by 3cm) and using only black chalk interpret it on A2 piece of paper. The trick was we were not allowed to even use rubber so we had to be very careful to make sure we don’t make it too dark because it would be really hard to make it lighter again. The drawing below is the one I created (but actually wasn’t very happy with as it looks nothing like clouds)

For the second drawing we were asked to choose a different section of the photocopy (but about the same size) and again interpret it on A2 piece of paper. This time however we had to cover a whole piece of paper with a layer of black chalk and “draw” clouds using a putty rubber. I must say I preferred this techniques a lot as I felt I have more control over what I’m doing..(I probably shouldn’t since it was experimental drawing workshop but oh well) Anyway, here  it is:

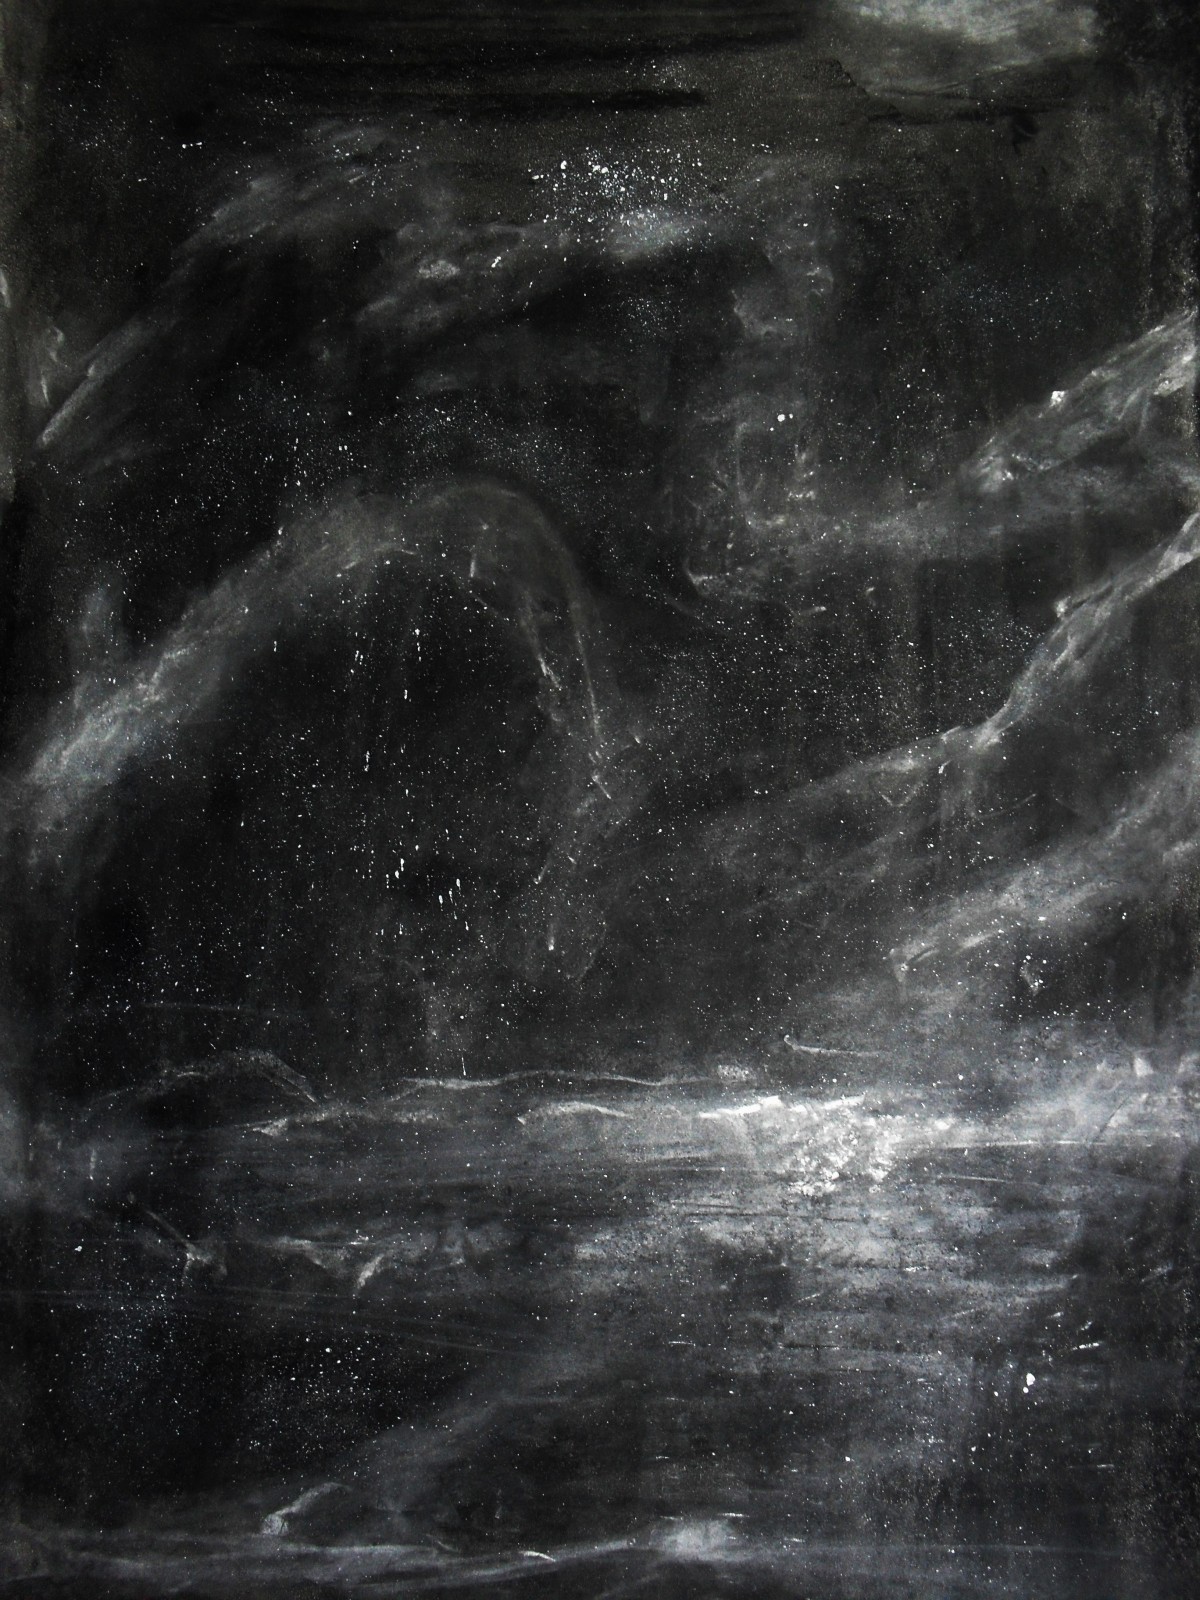
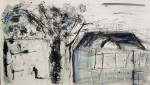
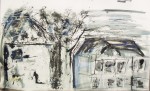
So, Once we finished creating those two pieces of work we could start working on our own ideas. As I mentioned before I used only black and white chalk and white acrylic paint as I tried to be sensible this time, and so I ended up with a drawing I actually liked (wow, it literally never happens!) So below you can see a drawing I created and two close ups on the details.

Drawing – 

Details-

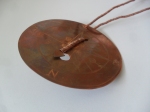
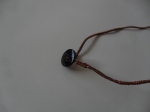
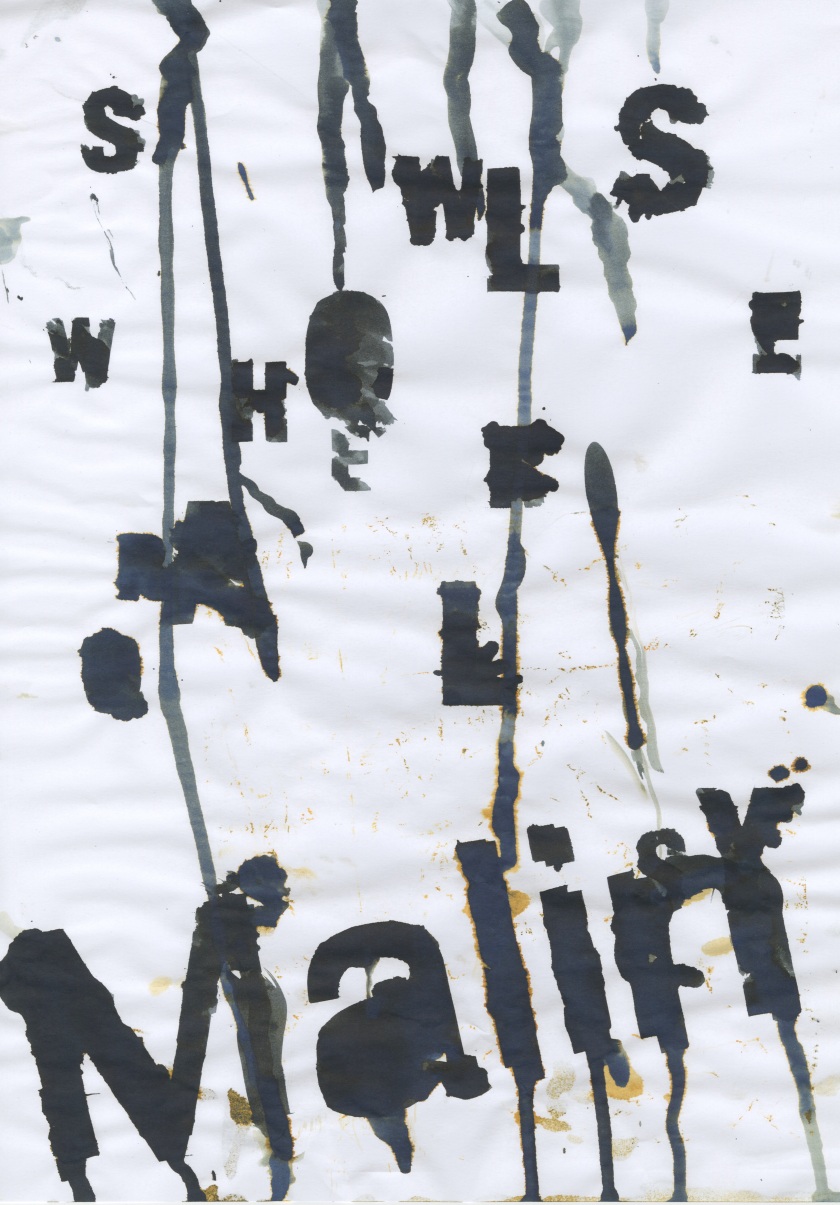
Lastly, during the same session we also created our own blackboards using pieces of cardboard boxes and blackboard paint. To be completely honest I can’t remember what exactly it was about but we explored some kind of mark making on blackboard as there are a lot of artists who use blackboards in their work and it creates a really interesting effect. But anyway, once our blackboard were dry and ready to use we were asked to be very experimental and to express our thoughts by creating abstract pieces of work. As I said I can’t exactly remember what it was all about but below are the two pieces I created. So, I hope  you enjoyed reading this really long post and maybe liked my drawings..well at least the one I liked! Have a nice day (..night?) and please look forward to my next post!


Constructed Textiles and Yarn Bombing Collaboration!

One of the first..and probably one of the most exciting  projects we did at college was Constructed Textile project which somehow turned into and amazing yarn bombing collaboration! And if you have never heard of yarn bombing, you should definitely google it..or better click here!  But anyway, on the very first day of the project I finally learned how to knit! (some people were already amazing at it! but How?!)..So we hand and machine knitted..we made felt, we made sailing knots..and we also learned how to finger-knit from our friend Anna! And, finger knitting is what took this already great project to a whole new level!

Im not going to go in details about how and why and who came up with this amazing idea because that’s not really that important since it was a collaboration and everyone worked really hard on it (..and also because I just cant remember) but anyway! For the final piece we decided to make a lot of long pieces of finger knitting (It’s surprisingly quick and easy way of knitting!) and some machine knitted pieces and use the idea of yarn bombing to secretly decorate the most popular space in our college! Soo, we took all the pieces we knitted, tied them together and during the lesson we quickly put it up. And this is what it looked like:

And the best part isn’t the fact that when the lesson finished no one could figure out what was it all about and how did it get there but the fact that it made college look more Christmassy (and it was that time of the year) and so we didn’t have to take it down, right after we created it..in fact it was taken down after few months and only because the space was needed for the end of the year show! And most importantly it really was a big part of our college life because since we put it up until the very end we secretly kept adding to it so it was an ongoing project which a believe almost everyone at college really liked and got attached to. Even if they didn’t quite know why it was there! Below I included some more pictures where you can clearly see how it evolved! So I hope you like it, and please look forward to my next post!

Experimental Drawing and Mark Making – old college project!

Since my course at Uni doesn’t start until mid September I’ve collected some photos from college and decided to start writing about some of the project that I did during my Art Foundation course. Some of them are actually pretty old so I hope I can remember what they were actually all about!

Okay, so one of the college projects that I never got to write about was a 3 day Experimental Drawing project where we experimented with a range  of different ways of mark making, different ways of drawing lines (you would be surprised how many there actually is!) and with taking sections of our drawings and interpreting  them on a big scale.  We were asked to use only black and white colours but we could use any media we want, and the more media variety the better!  I must say I really enjoyed this project even though I’m usually not that experimental when it comes to Art. (Well, I definitely improved a lot while I was at college!).

So, first thing we were asked to do was to sit by the window as this is what we were going to draw.

Then we were given a long piece of receipt paper to draw on which was quite surprising tbh! Starting on one side we were asked to draw all vertical lines first and nothing else.. so it was really important to keep some kind of proportions. Once we finished we were asked to do the same thing but with the horizontal lines..then diagonal, and then we could add trees and some other details that we felt we needed. At some point we were also asked to add some writing by for example writing ‘tree’ few times on the actual drawing of a tree and so on.

Here are some of the sections of my drawings after I added more details into it and more shading.

When  the drawing was finally finished we had to choose one section and interpret it on A1 piece of paper. I decided to go with this one: 

I took some photos while I was interpreting this little drawing on a much bigger piece of paper and by accident I documented how from a quite a good start that I was happy with I got to a heavily overworked drawing that I didn’t really like..oh well.

I feel like I really shouldn’t make this post any longer (Wow, if you’ve just finished reading it all!) so, I’m gonna end it with a page from my journal covered with pattern I created that day using quink ink and crumbled piece of newspaper.

Navigational instruments

Some time ago at college I had the opportunity to do some metal work which to my surprise I really enjoyed. For this project we were looking at navigational instruments and we were asked to design and create our own navigational instrument using either aluminium, copper or brass.  After we covered the basics of how to work with metal and how to safely use the tools that we were given we were asked to experiment with as many different ways of working with metal as  we can. My final outcome of this project was a compass-necklace that I designed and made using copper..and one black button.

Quink ink

Recently, while I was looking through my photo gallery  I found some interesting photographs that I took some time ago during shipping forecast project. For this project  I was using quite a lot of quink ink and every time I had too much ink on the paintbrush I was drying it with a tissue and unconsciously I created these blue and yellow/orange abstract shapes (even though I was using black ink.) that in my opinion look just awesome especially when the photograph is changed into black and white image. Well, I think it might be worthwhile to use this idea to do some further experimentation. So I hope you like it and look forward to see the outcome!

sdc16739

Graphic design – Shipping forecast (week 2) – Media experimantation

Recently I promised to write about our second mini project for graphics so, here we go!!

Our starting point was the same as the week before: Shipping forecast for a random shipping location. This time however we were asked to experiment with whatever methods we want to create our designs and so our creativity wasn’t limited to a computer design. Yep, I know it sounds Exciting!

MalinThe shipping forecast for Malin:

Wind: northwesterly 5 to 7.

Sea State: rough or very rough.

Weather: squally showers.

Visibility: moderate or good.

At first I wanted to design a poster using InDesign and then work on it with pen but when I created the first design on computer I decided to change my strategy and be more experimental. So, on the right you can see the first design that  I created that day, before I decided to change my way of working:

In my next designs I decided to use only a part of the shipping forecast rather than the whole text and I ended up with a short: “Malin squally showers” I then begun to think about how I can arrange the letters to make them visually express their meaning. I still decided to use InDesign to create the initial arrangement of the text. I then experimented with different methods and here are some examples of what I created:

I also used one spare copy of my design and cut out the letters to create a stencil. I didn’t like the effect that much but I decided to do some further experimentation using the letters I cut out. As it was raining at the time a had a perfect opportunity to use a wet ground as the background for my letters and I think I managed to create some interesting designs.

So here is the design created using stencil (the one that didn’t work too well)Experimenting

..and these are the photographs I took outside:

I know, they look awesome!..but putting them on the wet ground was a disaster as they kept rolling up! Before I managed to do anything I ended up with a pile of letters that looked pretty much like that:..it probably wouldn’t be that bad if not the fact that it was raining, my umbrella was heavy, my camera was running out of battery..and I also had to keep it clean and dry which was really difficult since my hands were covered in mud…uff

Oh yes! While I was putting the letters on the ground, another of my ideas was getting wet on the road (purposely of course). While I was still in the classroom I quickly painted one of the spare copies of the design with the quink ink as I was curious what effect I can achieve if I put it outside, on the muddy road on this rainy day. And hey! I did it purely out of curiosity but it turned out to work quite well!..And I also have one of the works that I created by accident when I crumbled a spare wet copy of my design..which was also covered in mud as I kept my letters on it after I used them!.. I know I shouldn’t make this post any longer..but just have a look okay!

So, that’s it for now! I hoped you liked it and look forward to my next post!:)